You’ve already seen how to create your own hosted blog, the easy, free, open way, with the help of fast_template. Now I’ll show you how to make life even easier, by syncing your blog with your computer, and writing posts with MS Word or Google Docs (especially useful if you’re including lots of images in your posts).
Synchronizing GitHub and your computer
There’s lots of reasons you might want to copy your blog content from GitHub to your computer. Perhaps you want to read or edit your posts offline. Or maybe you’d like a backup in case something happens to your GitHub repository.
GitHub does more than just let you copy your repository to your computer; it lets you synchronize it with your computer. So, you can make changes on GitHub, and they’ll copy over to your computer, and you can make changes on your computer, and they’ll copy over to GitHub. You can even let other people access and modify your blog, and their changes and your changes will be automatically combined together next time you sync.
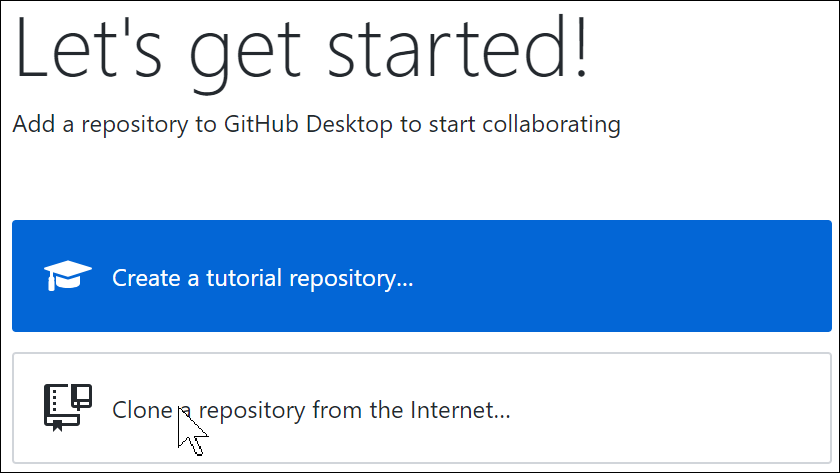
To make this work, you have to install an application called GitHub Desktop to your computer. It runs on Mac, Windows, and Linux. Follow the directions at the link to install it, then when you run it it’ll ask you to login to GitHub, and then to select your repository to sync; click “Clone a repository from the Internet”.
Once GitHub has finished syncing your repo, you’ll be able to click “View the files of your repository in Finder” (or Explorer), and you’ll see the local copy of your blog! Try editing one of the files on your computer. Then return to GitHub Desktop, and you’ll see the “Sync” button is waiting for you to press it. When you click it, your changes will be copied over to GitHub, where you’ll see them reflected on the web site.

Writing with Microsoft Word or Google Docs
One place this is particularly handy is for creating posts with lots of images, especially screen shots that you copy with your computer. I find these much easier to create in Microsoft Word, since I can paste my images directly into the document (Google Docs provides similar functionality). You can convert your Microsoft Word documents into markdown blog posts; in fact, I’m using it right now!
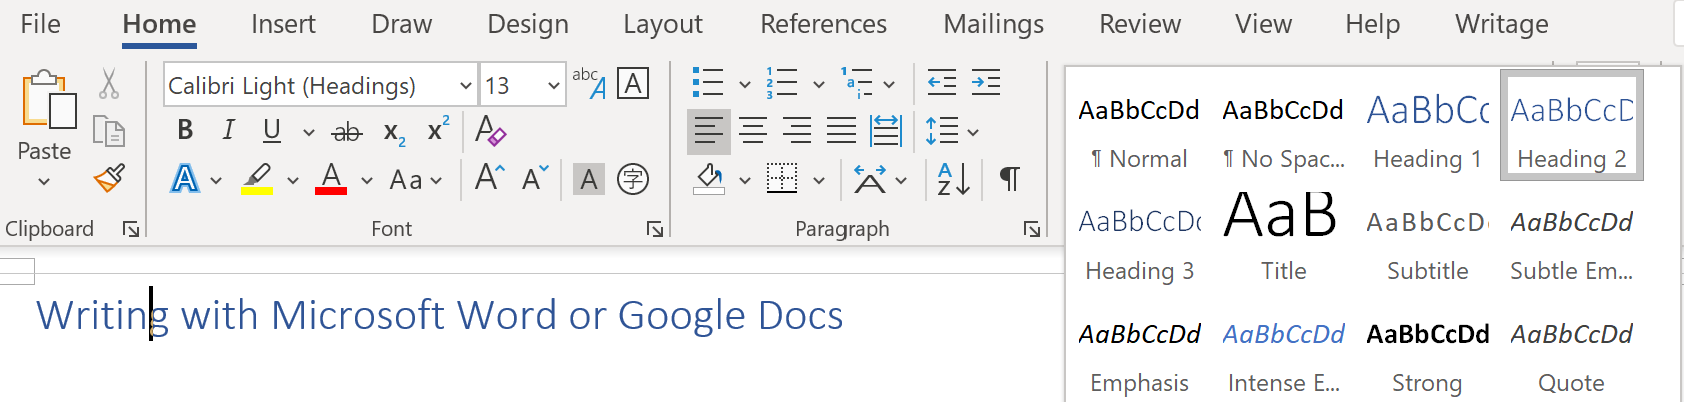
To do so, create your Word doc in the usual way. For headings, be sure to choose “heading 1”, “heading 2”, etc from the style ribbon—don’t manually format them. (A shortcut for “heading 1” is to press Ctrl-Alt-1, and so forth for each heading level).
When you want to insert an image, simply paste it directly into your document, or drag a file into your document. (On Windows, press Windows-Shift-S to create a screenshot, then drag over the area you wish to create an image of. On Mac, press Command-Shift-4.)
Once you’ve finished, save your work as usual, then we’ll need to convert it to markdown format. To do this, we use a program called Pandoc. Download and install Pandoc (by double clicking the file you download from the Pandoc website). Then navigate in Finder or Explorer to where you saved your Word doc and open a command line (Terminal, Command Prompt, or PowerShell) there. To do so:
- In Windows: hold down Alt and press f to open the File menu, then click ‘Open Command Prompt’ or ‘Open Windows PowerShell’
- In MacOS: this requires an extra setup step to make this work. Follow these instructions and you’ll be up and running!
Now paste the following command into the command line window:
pandoc -o name.md --extract-media=name/ name.docx -w gfm --atx-headers --columns 9999Replace “name” with the name of your file. To paste into the command line window:
- In Windows: press Ctrl-v or right-click
- In MacOS: press Command-Shift-v or middle-click.
After you press Enter, you’ll find you have a new file (name.md) containing your blog in markdown format, and a new folder called “media” containing a folder with the name of your doc. In that folder, you’ll find all your images. Use Explorer or Finder to move that folder into your blog repo’s images folder, and to move the markdown file name.md into your _posts folder.
You just have one more step. Open the markdown file in an editor or word processor, and do a search and replace (Ctrl-H in Microsoft Word), searching for “name/media”, and replace with “/images/name” (be careful to type the forward slash characters exactly as you see them). The lines containing your images should now look like this:
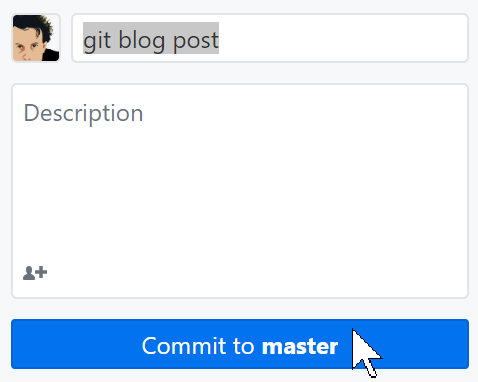
You can now commit your changes (that is, save them to the repo) by swiching to GitHub Desktop, filling in a summary of your changes in the bottom left corner, and clicking Commit to master. Finally, click Push origin at the top right of the window, to send your changes to the GitHub server.
Instead of going to the command line and pasting the pandoc line every time you want to convert a file, there’s an easier way. If you’re on Windows, create a text file with the following exact contents:
pandoc -o %~n1.md --extract-media=%~n1 %1 -w gfm --atx-headers --columns 9999Save the text file with the name “pandocblog.bat”. Now you can drag any MS Word file onto the pandocblog.bat icon, and it will convert it to markdown right away! (If you’re a Mac user and know how to do something similar for MacOS, please send me the details and I’ll add them to this post.)
Using your own domain name
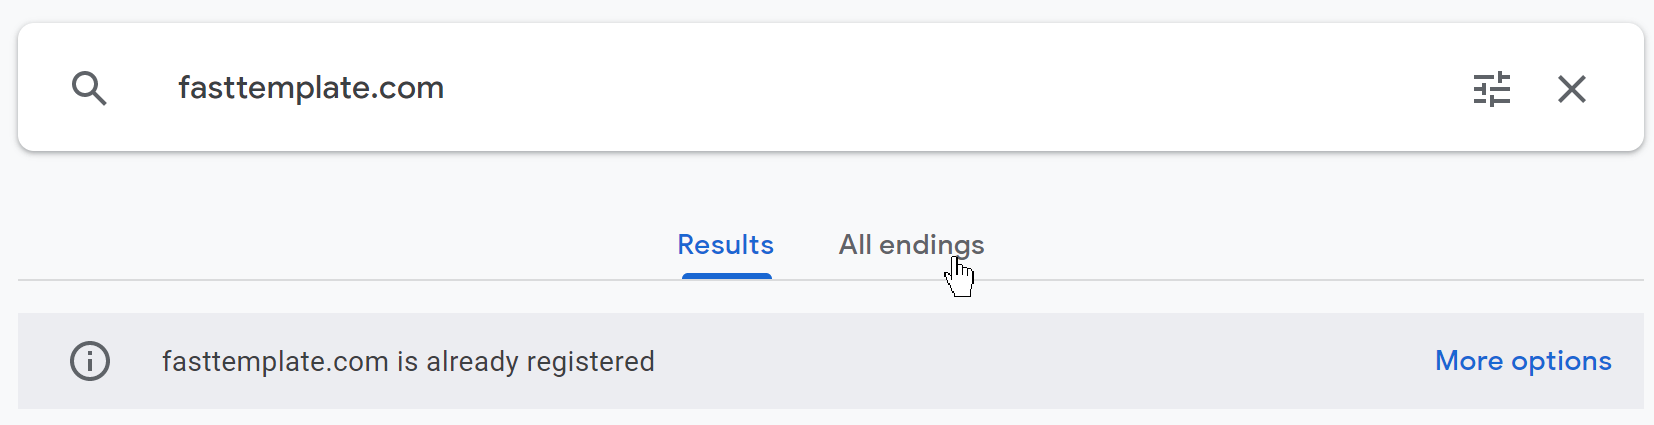
One thing that can make your blog appear more professional is to use your own domain name, rather than a subdomain of github.io. This costs around $12/year, depending on the top-level domain you choose. To set this up, first go to www.domains.google, search for the domain name you want to register, and click “Get it”. If you get back the message that your domain is already registered, click on “All endings” to see alternative top level domains that are available, along with their prices.
Once you’ve found a domain you like, add it to your shopping basket and check out. You now need to do two things:
- Tell GitHub Pages to use this custom domain
- Tell Google Domains to direct connections to this custom domain to GitHub Pages.
There’s a great tutorial available written by Trent Yang, on how to do this, so rather than repeat his excellent work, I’ll just suggest you head over there to complete this process: How to setup google domain for github pages.